How to Secure a Bathroom Vanity Countertop: Step-by-Step
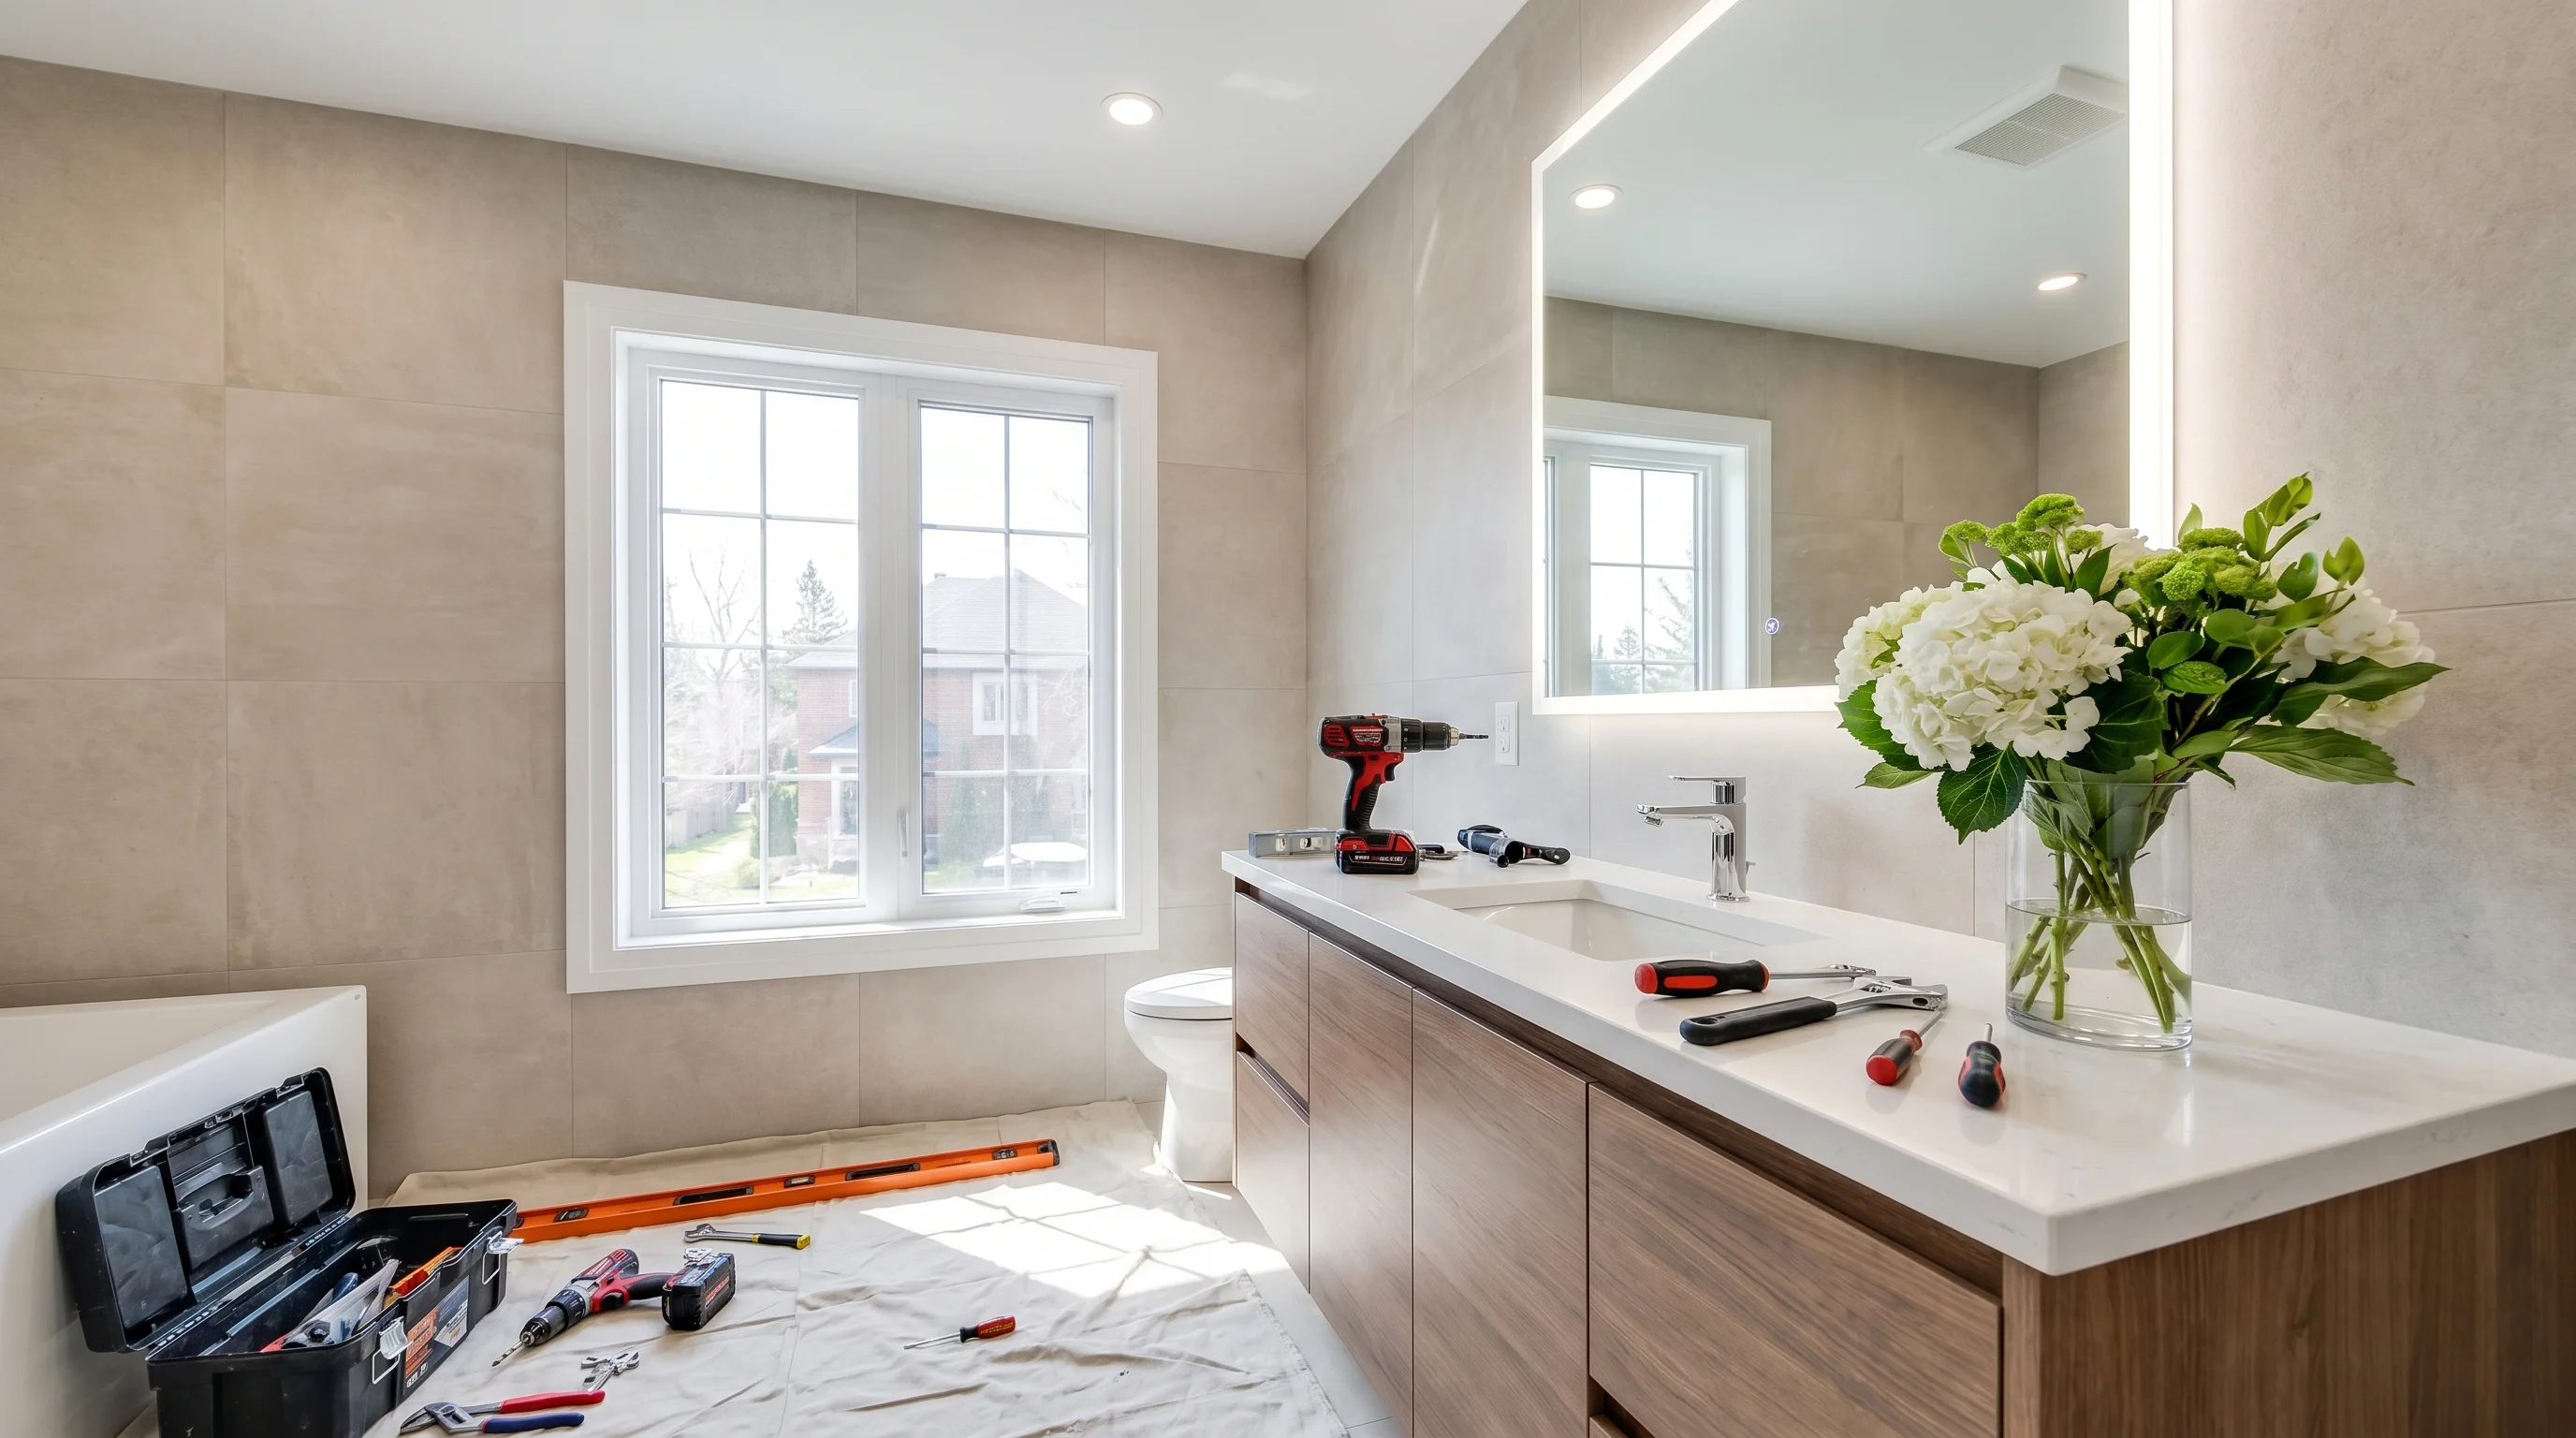
A countertop that rocks slightly when you set down a coffee mug isn't just irritating — it's actively working against you. Water finds its way under the edges, the silicone seal breaks down, and eventually you're dealing with a swollen cabinet or a cracked stone top. Getting the countertop secured correctly the first time takes about 30 minutes and less than $20 in materials. Here's how to do it right.
What You'll Need Before You Start
Don't start until everything is on hand. Stopping mid-install to run to the hardware store means the silicone skins over and you get a weak bond.
- 100% silicone caulk (kitchen and bath grade — not latex, not paintable)
- Caulk gun
- Isopropyl alcohol (70% or higher) and clean rags
- Painter's tape
- Plastic putty knife or old credit card
- Countertop mounting clips (if your cabinet has clip channels — more on this below)
- Level (24-inch is ideal)
- Shims (cedar or plastic)
- Measuring tape
Total cost for materials if you're starting from scratch: roughly $15–$25. Silicone alone runs $6–$10 a tube at any hardware store.
Step 1 — Level the Cabinet Before the Countertop Goes On
This is the step most people skip, and it's the reason countertops crack. If the cabinet isn't level, the countertop sits on two high points instead of the full perimeter, and any weight or pressure will eventually fracture it — especially with stone or quartz.
- Place your level across the top of the cabinet, side to side, then front to back.
- If there's any gap under the level, slide cedar or plastic shims under the cabinet feet until it reads flat in both directions.
- Check that the cabinet isn't rocking. Press each corner — if it moves, add a shim.
- Once level, if the cabinet has adjustable legs, lock them in place. If not, the shims stay permanently under the base.
Pro tip: On floors with tile grout lines, one foot often sits on a grout ridge and another doesn't. This is the most common cause of an unlevel vanity and takes 60 seconds to fix with a thin shim.
Step 2 — Clean the Mounting Surface Properly
Silicone adhesion fails almost entirely because of surface contamination — dust, old caulk residue, soap film, or construction debris. Wipe down both the top edge of the cabinet and the underside of the countertop with isopropyl alcohol. Let it dry completely before applying any silicone. This takes about 5 minutes and doubles the lifespan of your seal.
If you're reinstalling a countertop that was previously caulked, remove every trace of the old silicone with a plastic scraper and then clean with alcohol. Silicone does not bond to old silicone.
Step 3 — Apply Silicone and Set the Countertop
Run a continuous bead of silicone along the full top perimeter of the cabinet — not a dotted line, not a few blobs. The bead should be about ¼ inch in diameter. For a 60-inch double-sink vanity, you'll use roughly half a tube. For a 24-inch single vanity, a quarter tube is enough.
- Apply the silicone bead to the cabinet top edge.
- Lower the countertop straight down onto the cabinet — don't slide it once it contacts the silicone or you'll create air gaps.
- Press firmly and evenly across the entire surface for 30–60 seconds.
- Check alignment: the countertop should overhang evenly on all exposed sides. Standard overhang is ¾ inch to 1 inch at the front and sides.
- Run painter's tape along the joint where the countertop meets the cabinet to catch squeeze-out, then smooth the silicone bead with a wet finger or plastic tool.
- Remove the tape before the silicone skins (within 5–10 minutes).
Don't use the countertop for at least 24 hours. Full silicone cure is 72 hours — avoid getting water on the joint until then.
When Clips Are the Right Call Instead
Some vanity cabinets — including many of the assembled HDF vanities we carry — have routed channels or pre-drilled holes inside the cabinet specifically for countertop mounting clips. If yours does, use them in addition to silicone, not instead of it.
Clips work by threading a screw up from inside the cabinet into a clip that grabs the underside of the countertop. They prevent any lateral movement and are especially useful for heavier quartz countertops, which can weigh 30–60 lbs depending on size. Tighten clips snugly — not so hard that you risk cracking the stone near the edge.
For a 48-inch or 60-inch vanity, use a minimum of 6 clips evenly spaced. For anything 36 inches and under, 4 clips plus silicone is sufficient.
Why Pre-Assembled Vanities Make This Easier
The hardest part of securing a countertop on a site-built vanity is dealing with an uneven or unlevel cabinet top — warped wood, inconsistent framing, or a top rail that isn't flush. With a factory-assembled vanity, the cabinet top is machined flat and square, so the countertop sits on a consistent surface from day one.
The 30-inch vanities and larger sizes in our lineup come with quartz countertops and ceramic undermount sinks already paired to the cabinet — so the countertop-to-cabinet fit is already dialed in. You're securing a matched set, not trying to make two separate pieces work together. That eliminates most of the alignment headaches this guide covers.
If you have questions about your specific setup before you start, message us on WhatsApp at (647) 428-1111 — we can tell you exactly what's included with your vanity and whether clips or silicone alone is the right approach.
The One Mistake That Causes Most Countertop Failures
Skipping the backsplash-to-wall seal. Once the countertop is secured to the cabinet, run a bead of silicone along the joint where the backsplash meets the wall. This is where water consistently gets behind vanities and causes the real damage — swollen HDF, mold behind the drywall, and eventually a cabinet replacement.
Use the same 100% silicone here, smooth it with a wet finger, and let it cure fully before running water. It takes five minutes and prevents the most expensive repair in bathroom renovation.
Browse the full range of complete vanity sets — countertop, sink, backsplash, and hardware all included — at modernvanity.ca/vanities, starting at $499 for a 24-inch set. More installation guides are available on the blog if you're working through a full bathroom refresh.